Creating a seamless self-registration system for Mesh events can significantly streamline the process for both organizers and participants. This guide will walk you through the steps to set up a self-registration system using Microsoft Forms and Power Automate, enabling users to sign up for events effortlessly.
Let’s dive in!
Background Information
Basically, a Mesh event is an Exchange meeting where you handle all the attendees through Outlook If you want to invite people to a Mesh Event, you can either add them to the Outlook event or add them in Mesh Portal, which will also add them to the Outlook event for you. This is the reason for Exchange prerequisites for Mesh.
This post focuses on “Custom immersive experiences in Mesh,” as every Teams Meeting is automatically accessible via immersive spaces in Teams. However, you can also use this information for any kind of Exchange-based event self-registration.
Walkthrough
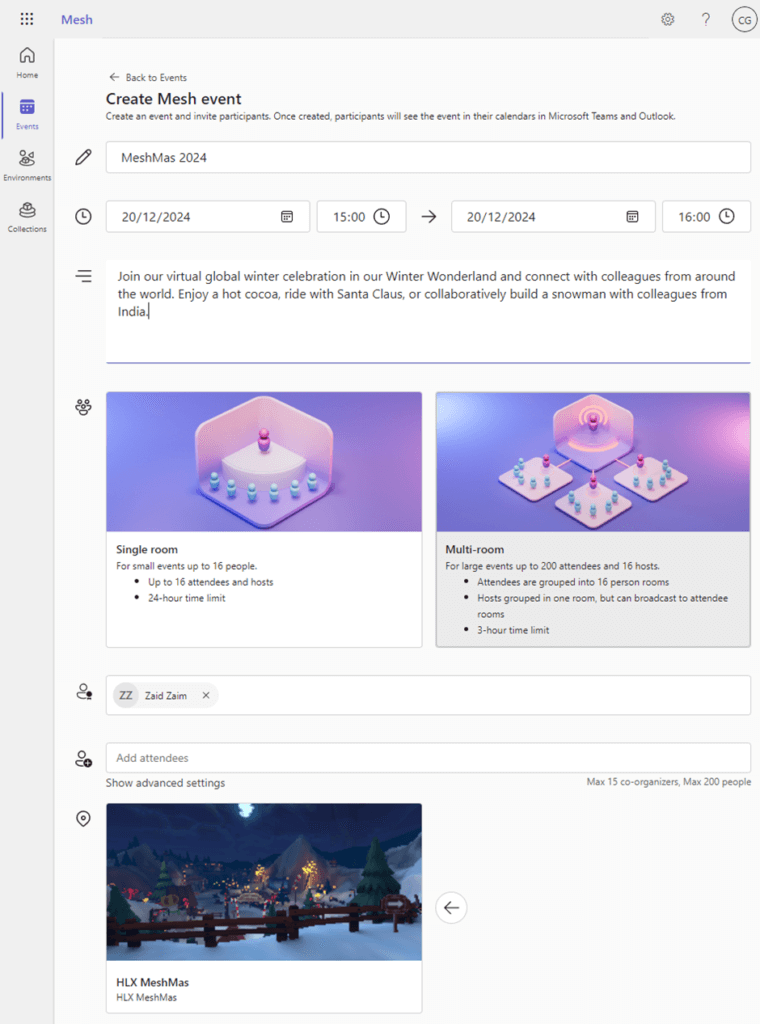
Create a new Mesh Event at https://mesh.cloud.microsoft/create-event. As an example, I use our beloved yearly company Christmas celebration in Winter Wonderland – #MeshMas.
Note: The user account you select for event creation is crucial, as it will be the event owner. This should match the user account linked to the Outlook connection in Power Automate later.
We don’t have to add attendees now. We will do this later with Power Automate.
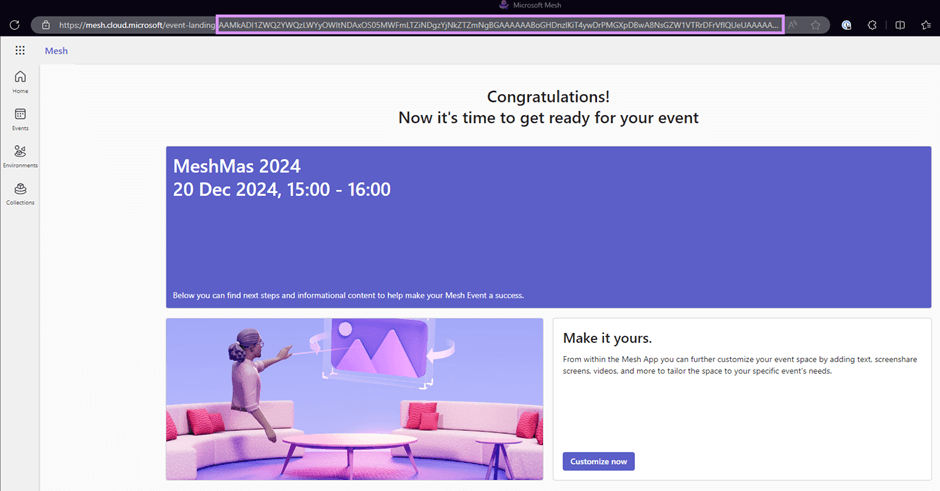
Once the event is created, the Exchange event id will appear in the address bar on the event landing page. Make sure to copy this event id and save it since you’ll require it for use with Power Automate later.
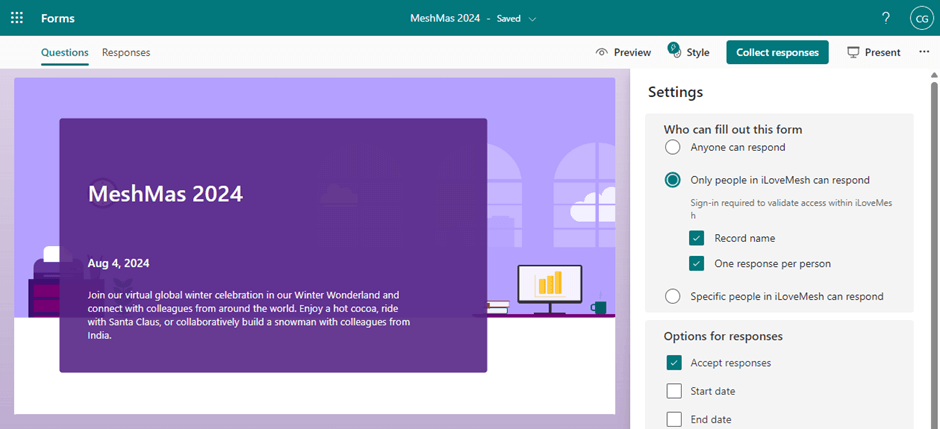
Next, we’ll construct a basic registration form using Microsoft Forms, setting it to permit only internal users from our tenant. This setup automatically captures the user’s email, so no further details are necessary – users simply submit the form. Additionally, you have the option to schedule the registration to open on a certain date and close shortly before the event.
Now
we switch to Power Automate and build our
event registration Flow.
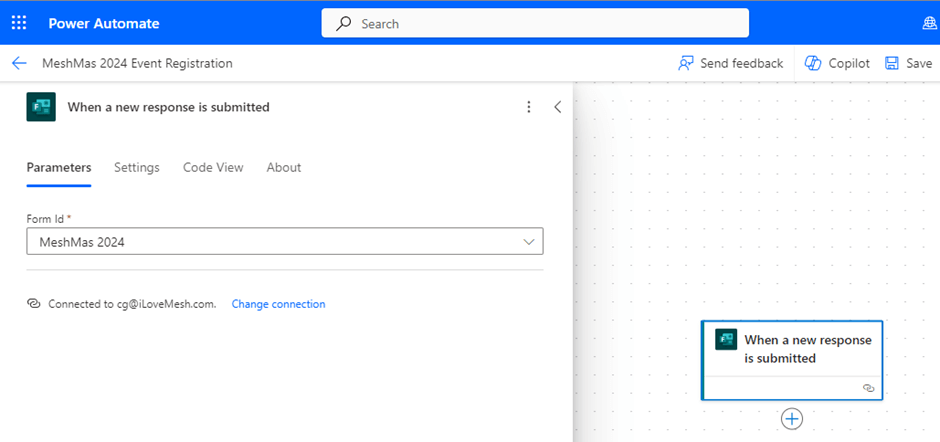
As trigger we use “Microsoft Forms – When a new response is submitted”
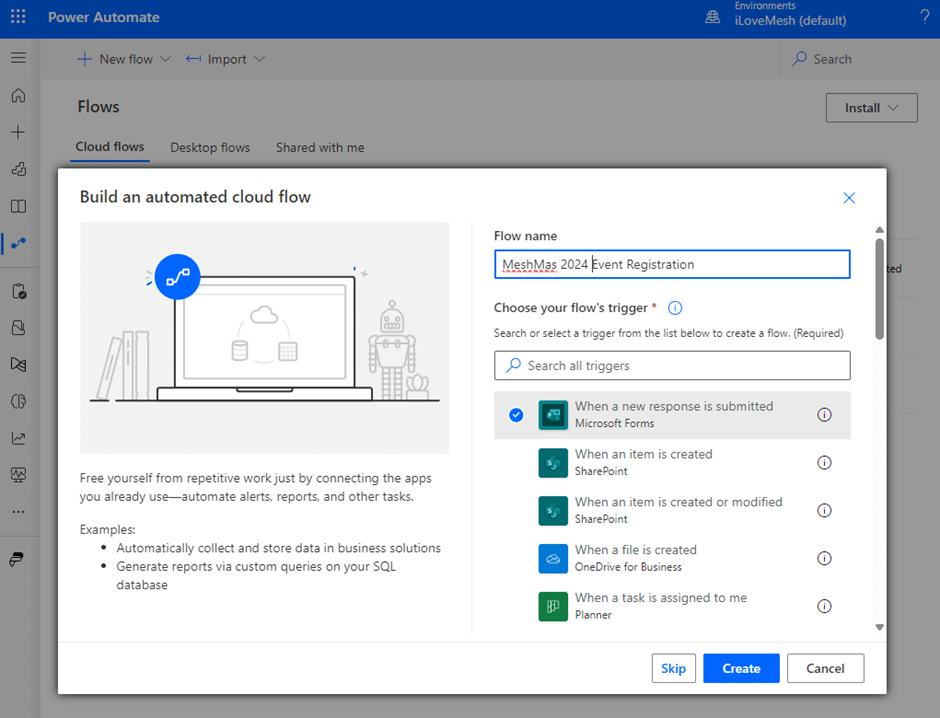
Choose the previously created Microsoft Form in the Forms Trigger configuration
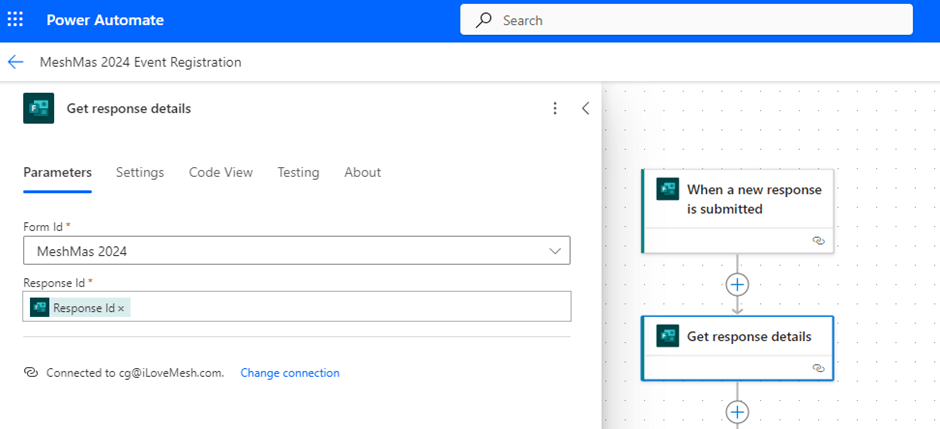
We must now get the user’s email who submitted the form by utilizing the Forms „Get response details“ action.
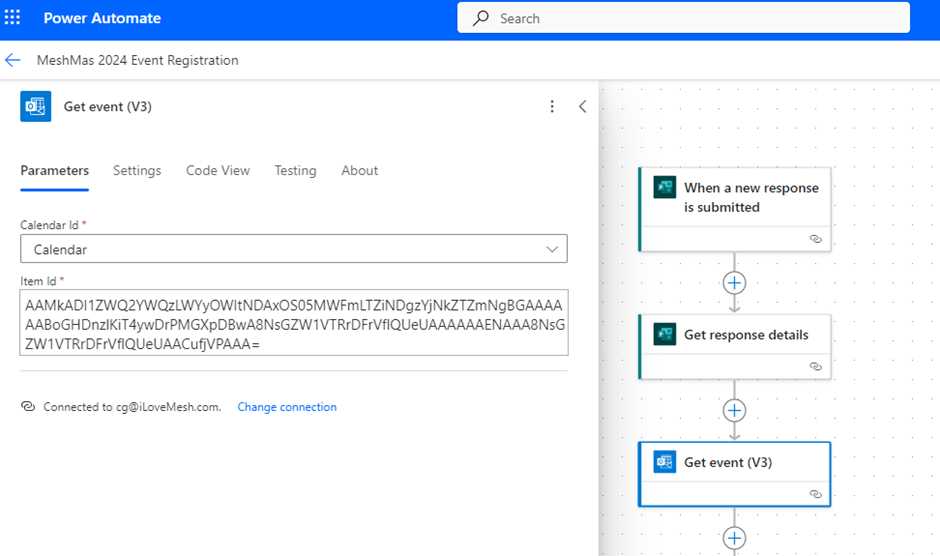
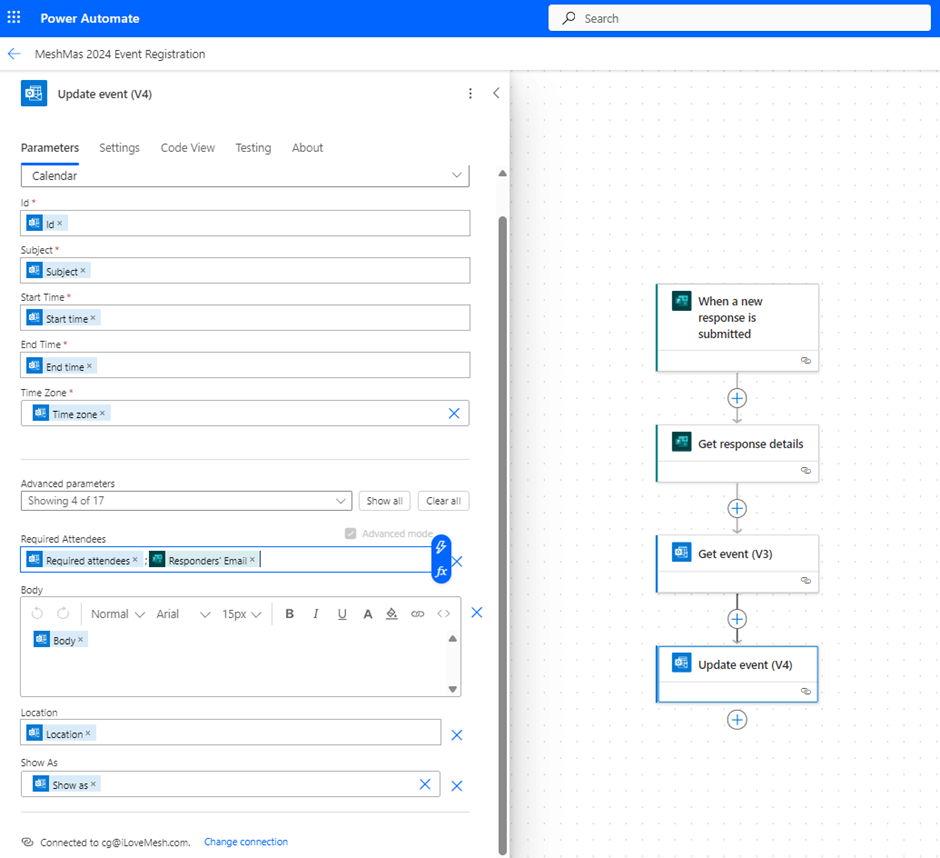
Next, retrieve the event details for use in the update action; it’s not possible to update only the attendees, thus all event information must be duplicated. Insert a „Get Event Action (V3)“ and select the user’s primary calendar, inputting the previously saved Mesh event ID.
Important: For any Outlook actions, utilize the account of the user who created the Mesh event since he owns the exchange event item.
Finally, we incorporate the add the new attendee into the event using Outlook’s “Update Event (V4)” action. Ensure to duplicate all relevant fields from the previous Get Event Action and append the newly registered user with a semicolon to the Required Attendees field. The location field is crucial; it must be “Microsoft Mesh Event” for Mesh to recognize it in both the Mesh App and Mesh Portal.
Summary
By following this guide, you’ve created a seamless self-registration system for Mesh events using Microsoft Forms and Power Automate. This process simplifies attendee management, making it ideal for large events like townhalls.
Consider these enhancements:
Approval Steps: Add an approval step in Power Automate to vet attendees before they are added to the event.
Onboarding Information: Automatically send onboarding materials or welcome emails to participants.
Complex Flows: Implement sophisticated flows to provision Entra ID users, ensuring they have the necessary permissions for the event. At iLoveMesh.com, we use these complex flows for our events with external participants.
These customizations can enhance the registration process, creating a more efficient and personalized experience for your attendees. If you need sophisticated solutions, feel free to contact me.
Happy event planning!