Welcome to the ilovemesh tutorial series. In this first episode, we’ll guide you through setting up Mesh Immersive Spaces in Microsoft Teams. This feature enhances your meeting experience by adding immersive, virtual environments. Let’s start!
The Setup
Step 1: Acces Teams Admin Center
Begin by logging into the Microsoft Teams Admin Center. This is where you’ll manage all the settings for your Teams environment.
Step 2: Allow Mesh Immersive Spaces App
Use the search function to find “Mesh” in the Teams Admin Center. Ensure that the Mesh Immersive Spaces app is set to “Allowed”. This step is crucial for enabling the Mesh functionality within Teams.
Step 3: Configure Permission Policies
Navigate to the “Permission Policies” Section. You have the option to configure these settings for the entire organization or for specific apps. To focus on preview users, create a new “Mesh Preview” policy.
In this policy, select the option to allow specific Microsoft apps and block all others. Search for the mesh app within this policy, add it, and set it to “allow”. Remember to save your policy after making these changes.
Step 4: Assign Users to the Policy
Assign specific users to your newly created “Mesh Preview” policy. For a start, you can assign yourself to test the setup.
Keep in mind that it might take some time for the policy to become active.
Step 5: Setup Policy for Immersive Spaces App
Go to the setup policy section to ensure users can access the Immersive Spaces app. You can either modify the global setup policy or create a new one.
Create a policy named “Mesh Preview” and add the Mesh app to it. Save this new setup policy. Assign relevant users to this policy. As with the permission policy, you can start by adding yourself.
Step 6: Apply and Confirm Settings
After configuring the policies, click “apply” to enforce these settings. Confirm your choices to finalize the setup.
Testing Mesh Immersive Spaces
Now that everything is configured, it’s time to test Mesh Immersive Spaces.
1. Wait for a Policy Activation
Be aware that the new policies may take some time to take effect. If the Immersive View button isn’t visible after a day, try restarting your Teams client.
2. Troubleshooting
If you still encounter issues, recheck your configuration settings to ensure everything is correctly set up.
3. Joining an Immersive Space
- Join a Teams meeting as you normally would, either through the Teams client or the Outlook app.
- Look for the „View Immersive Space“ button in the meeting interface and click it to enter the Mesh environment.
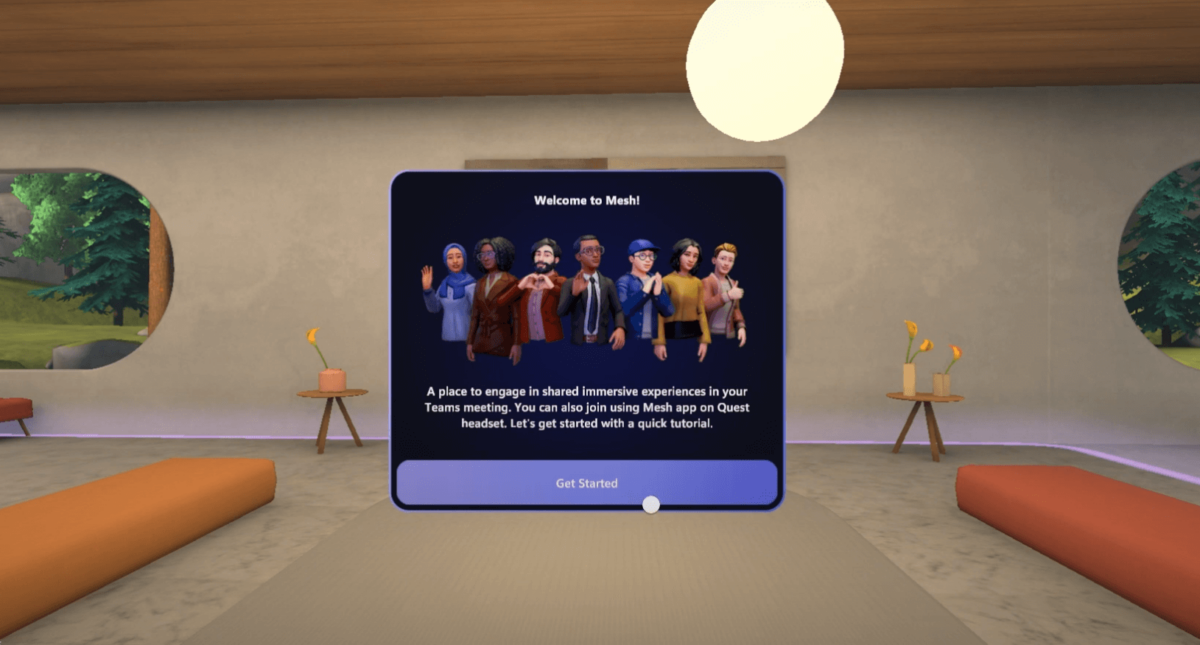
- If it’s your first time using Mesh, you’ll need to accept the license agreement and verify your audio settings.
- Initially, you might see a black screen, but don’t worry, it should load the immersive space shortly.
4. Enjoy Your Immersive Meeting
Once everything loads, you’re ready to experience your meeting in the new, immersive environment provided by Mesh.
Thank you for following this tutorial. With these steps, you should now be able to set up and enjoy immersive meetings in Microsoft Teams. Dive in and experience a new way of virtual collaboration with Mesh Immersive Spaces!