In this tutorial, we’ll walk you through the process of setting up a basic “Hello World” project in Unity using Microsoft Mesh. This platform enables shared experiences in mixed reality, providing a new realm of possibilities for developers.
Getting Started
Begin by launching Unity Hub on your computer. Ensure that you have the correct version of Unity installed, and both Android and Windows support available. This step is crucial for a smooth setup and development process.
Step 1: Creating your Project
Within Unity Hub, navigate to the “Projects” section for creating a new project. Here, select the “3D (URP)” template, which is ideal for Microsoft Mesh projects. You’ll then be prompted to name your project and choose a storage location. Once these details are entered, click “Create Project” to initialize your workspace.
Step 2: Project Configuration
After your project opens in Unity, it’s time to tweak a few settings. Head over to “Edit” and then “Project Settings”. In this menu, find the “Package Manager” section. Here, you’ll add the information below under “Scoped Registries” to tailor the project to your needs.
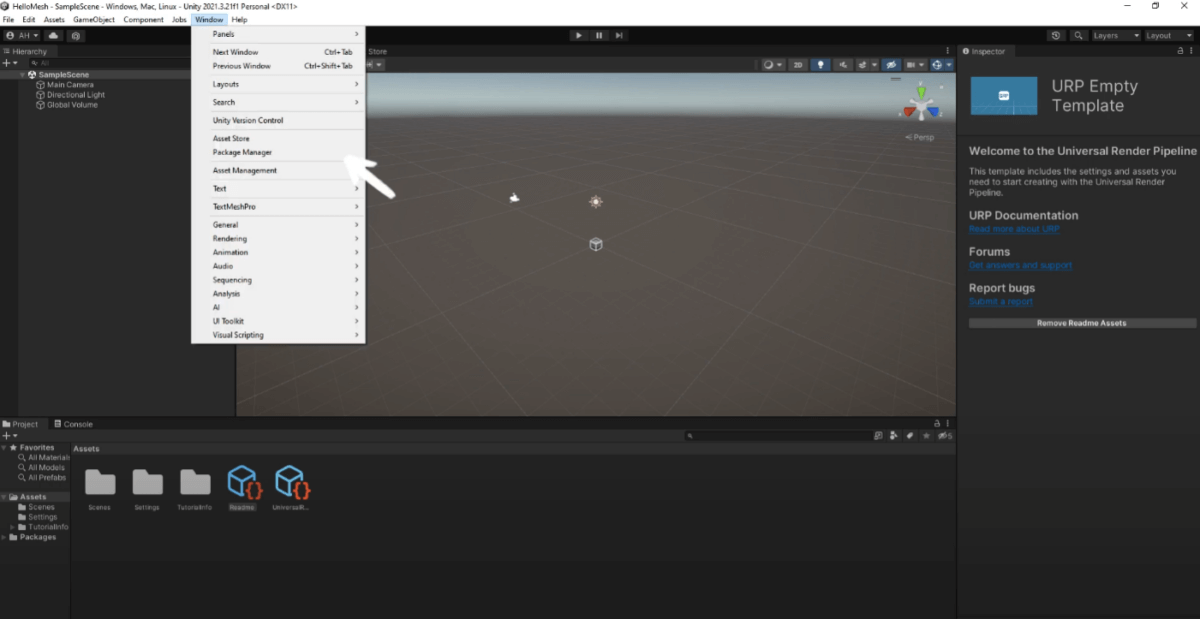
Step 3: Installing Microsoft Mesh Toolkit
With the settings configured, return to the main Unity interface and open the “Package Manager” from the “Window” menu. Select “My Registries” to view available packages. Look for the “Microsoft Mesh Toolkit” in the list and proceed to install it. Be patient, as this installation might take a while. Upon completion, you’ll find the toolkit in the “Assets” folder.
Step 4: Organizing your Assets
To keep your projects organized, create a new folder within “Assets”. In this new folder, create a scene named “Main”. It´s a good practice to maintain a neat folder structure, so consider creating a subfolder named “Scenes” to store your main scene.
Step 5: Setting Up the Scene
Open the “main” scene you’ve just created and add a “Plane” to it, which will serve as the ground for your project. This step marks the beginning of your scene setup. Next, create a new Object by selecting “Play Mode Setup” in the dropdown. This predefined object is specific to Mesh and crucial for the functionality of your project as it will act as the player controller in your experience.
Step 6: Exploring Multi-User Environment
An interesting aspect of Microsoft Mesh is the ability to simulate multiple users in the same environment. Adjust the initial screen count settings to preview this feature in the component attached to your play mode setup object. Once set, hit “Play” and watch as your project comes to life in a split-screen mode, showcasing another user’s preview. This is an excellent opportunity to explore and understand the spatial dynamics of your project.
Continue Development
With the initial setup complete, you can now proceed with the regular development process in Unity. The foundation you’ve laid down with Microsoft Mesh opens various avenues for creating immersive mixed-reality experiences.
By following these steps, you’ve successfully established a basic Microsoft Mesh environment in Unity. This setup is just the starting point, and there’s much more to explore and create within this innovative platform. Happy developing!